In the fast-paced world of technology, there’s never been a more exciting time to dive into the world of software development—particularly as a full stack developer. Traditionally considered one of the most challenging roles in tech, full stack development used to be daunting, requiring mastery over a vast array of skills—from front-end and back-end development to cloud computing, DevOps, cybersecurity, and more. However, the landscape is changing dramatically, thanks to advancements in Generative AI (Gen AI).
The Gen AI Game-Changer
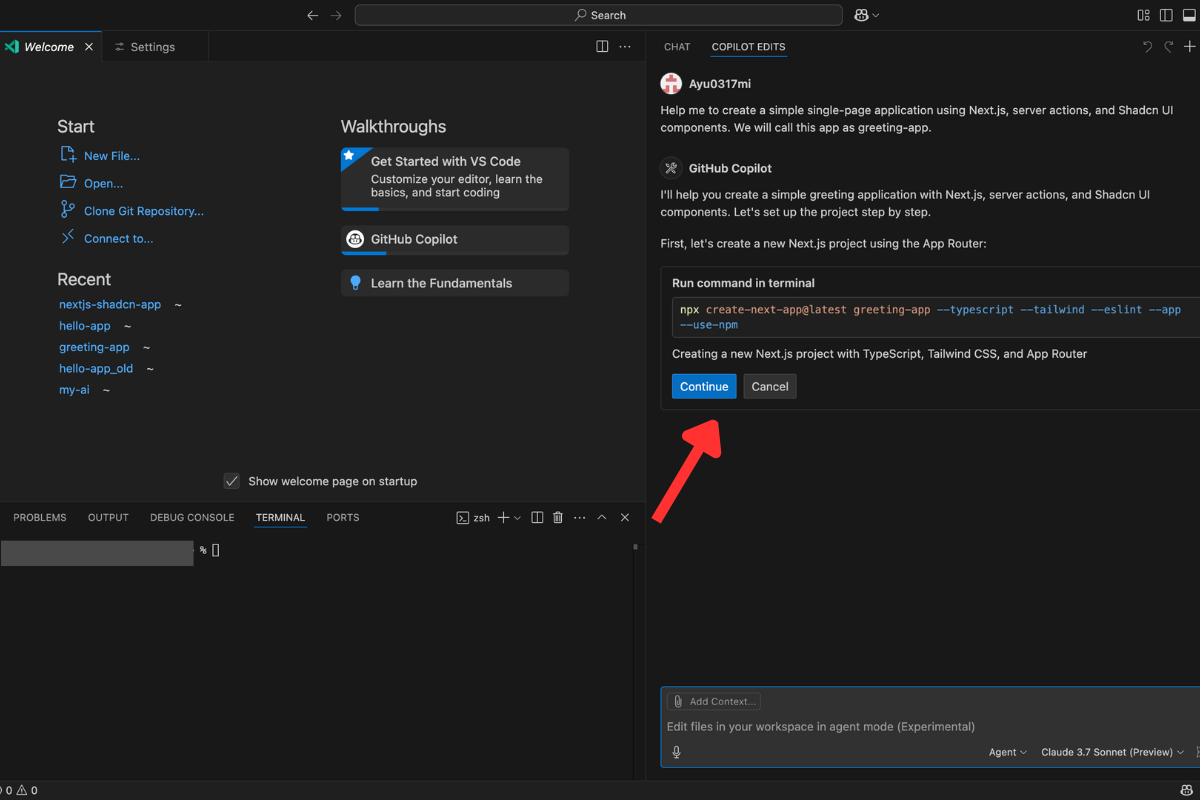
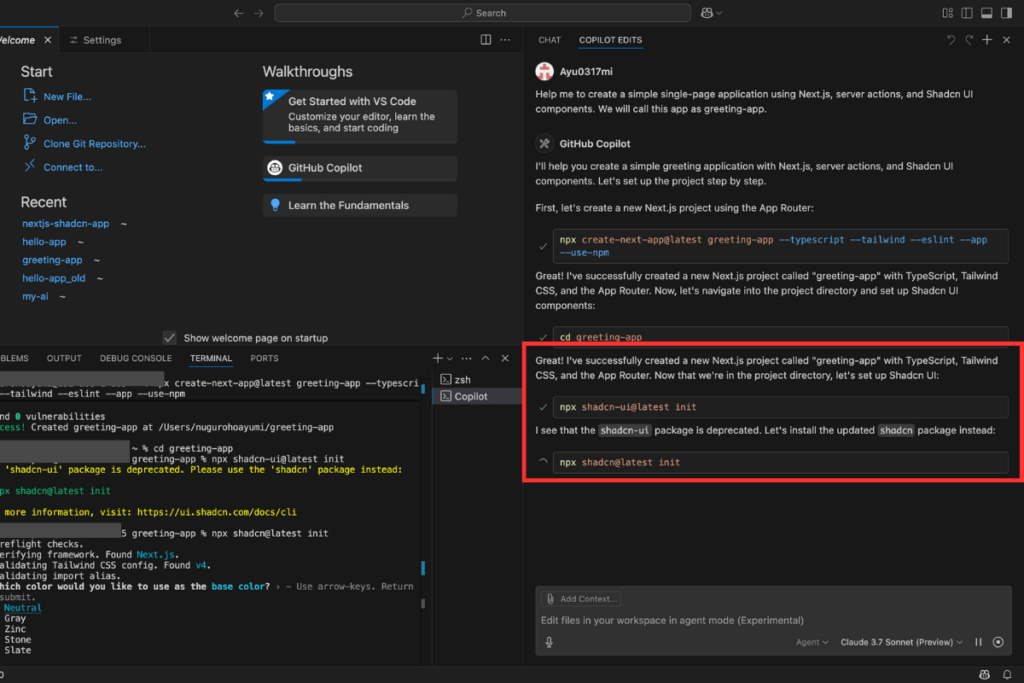
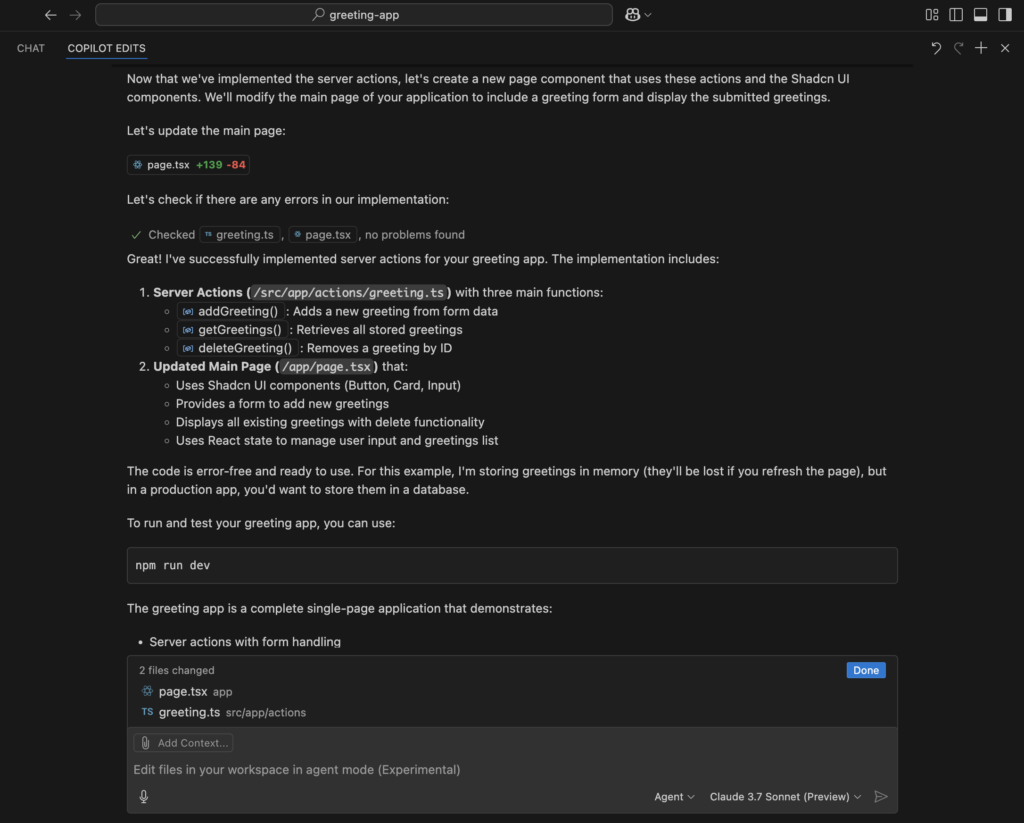
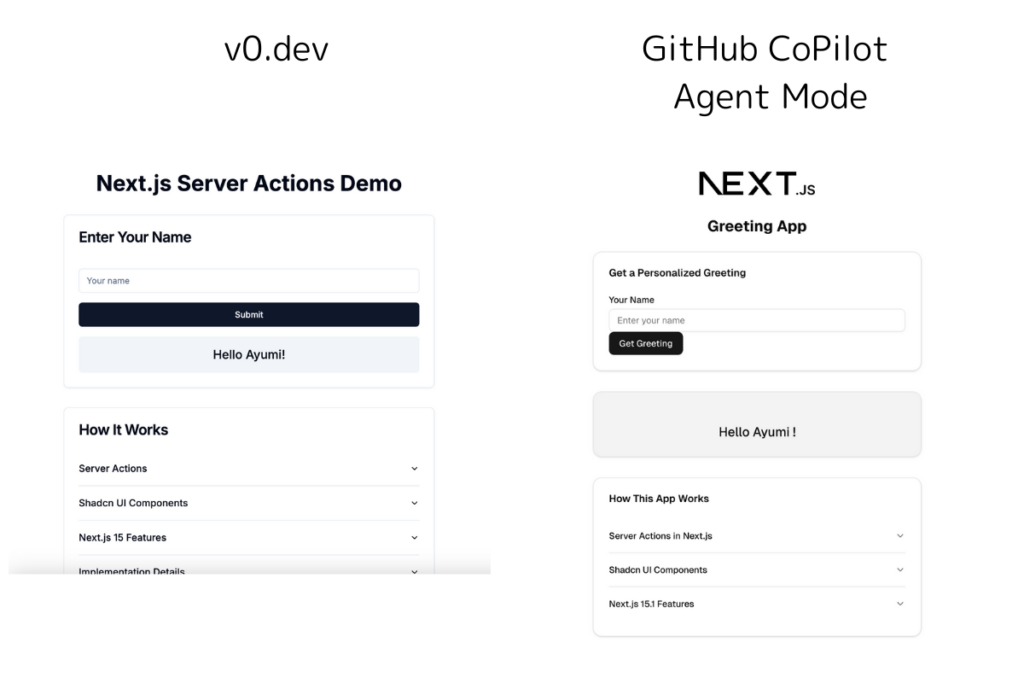
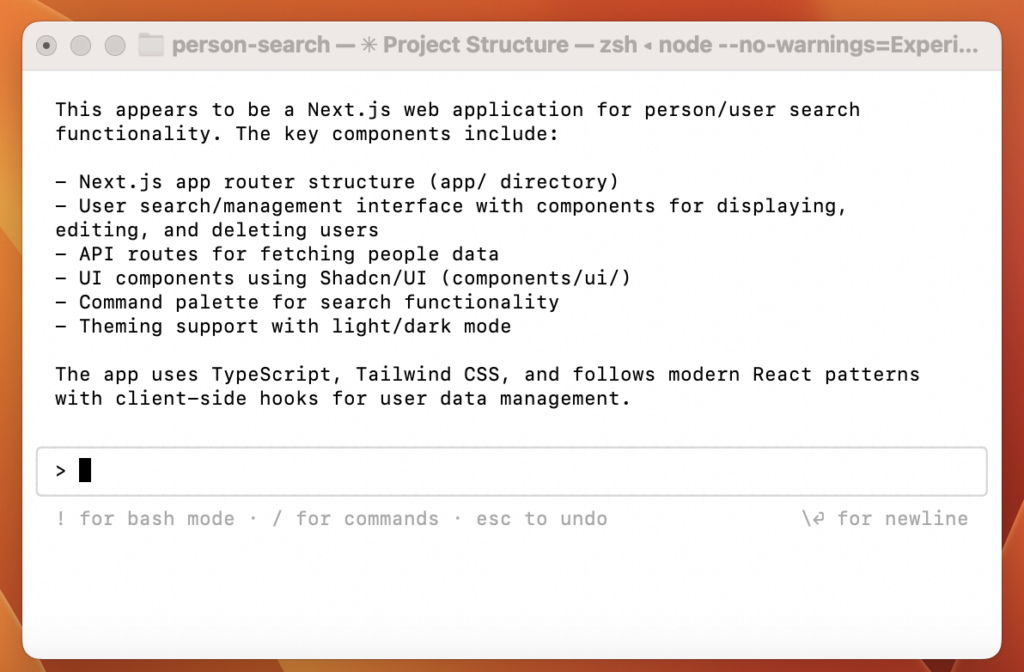
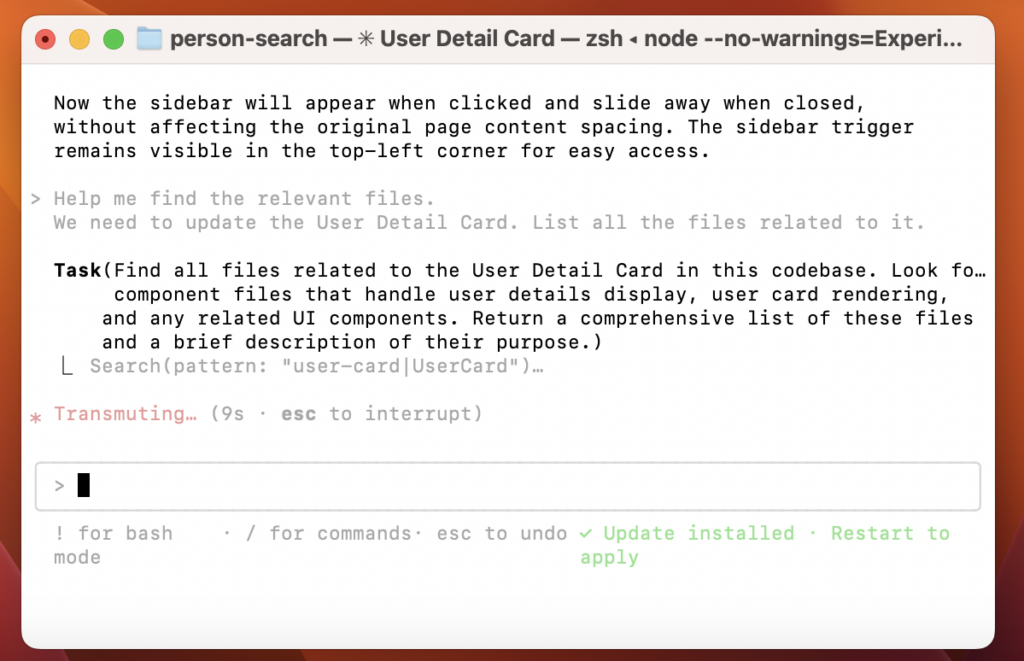
Today, emerging full stack developers have an unprecedented advantage: Generative AI tools are reshaping how code is written, lowering the barriers to entry, and accelerating the software development lifecycle significantly. In my experience, using tools like v0.dev and frameworks such as Next.js 15, React 19, and Shadcn UI has dramatically transformed what used to take days or weeks of careful hand-crafting into tasks that can now be completed within minutes or hours.
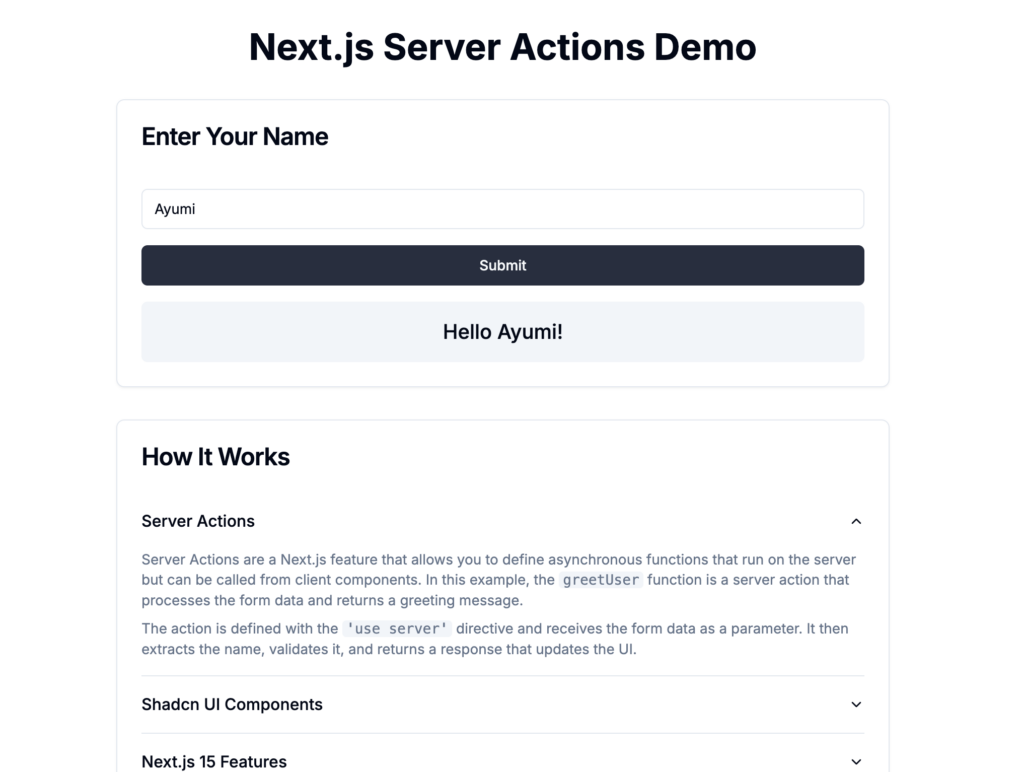
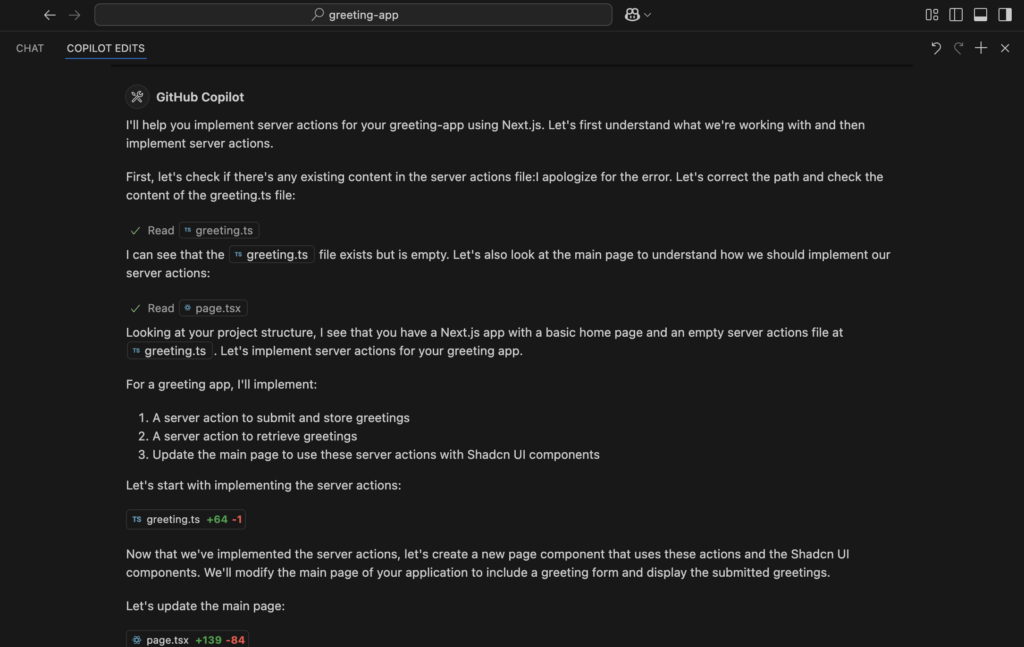
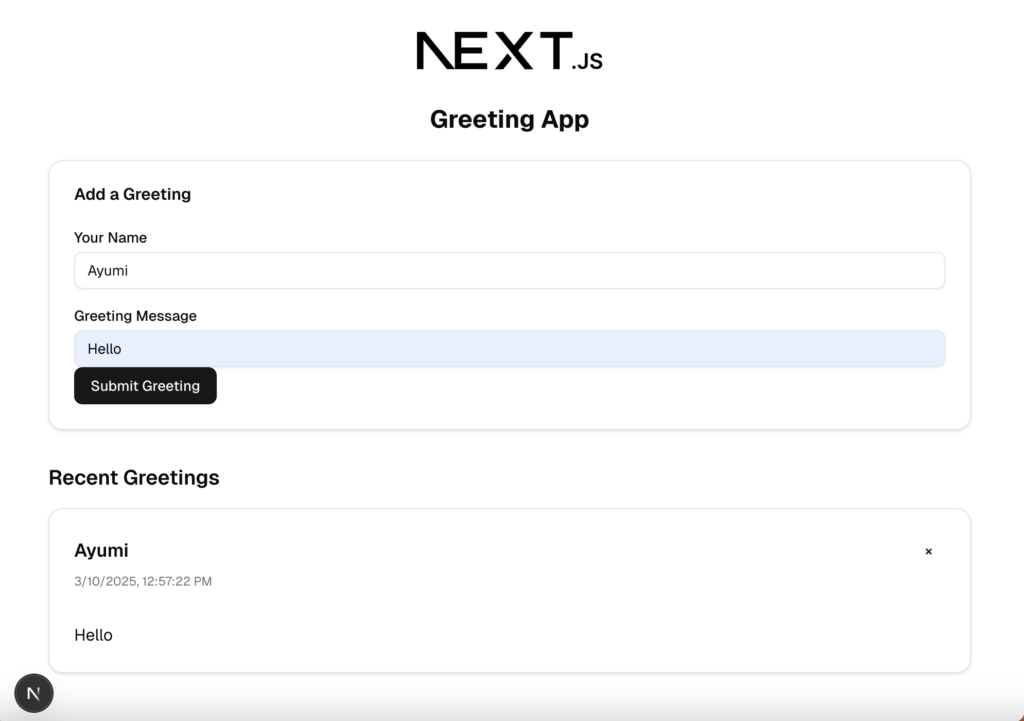
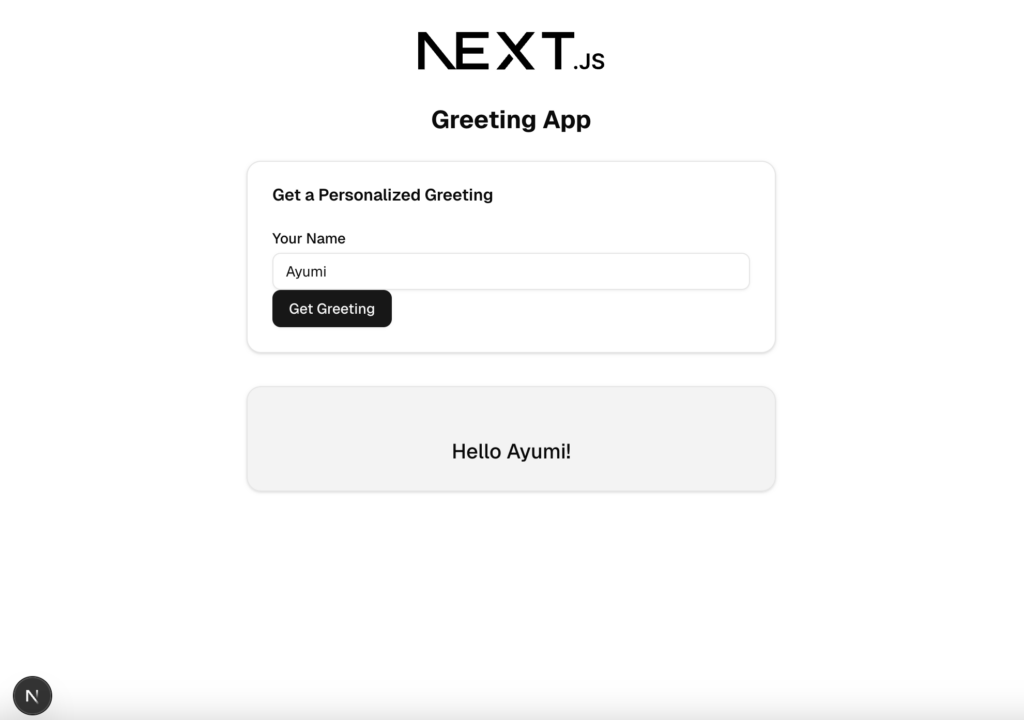
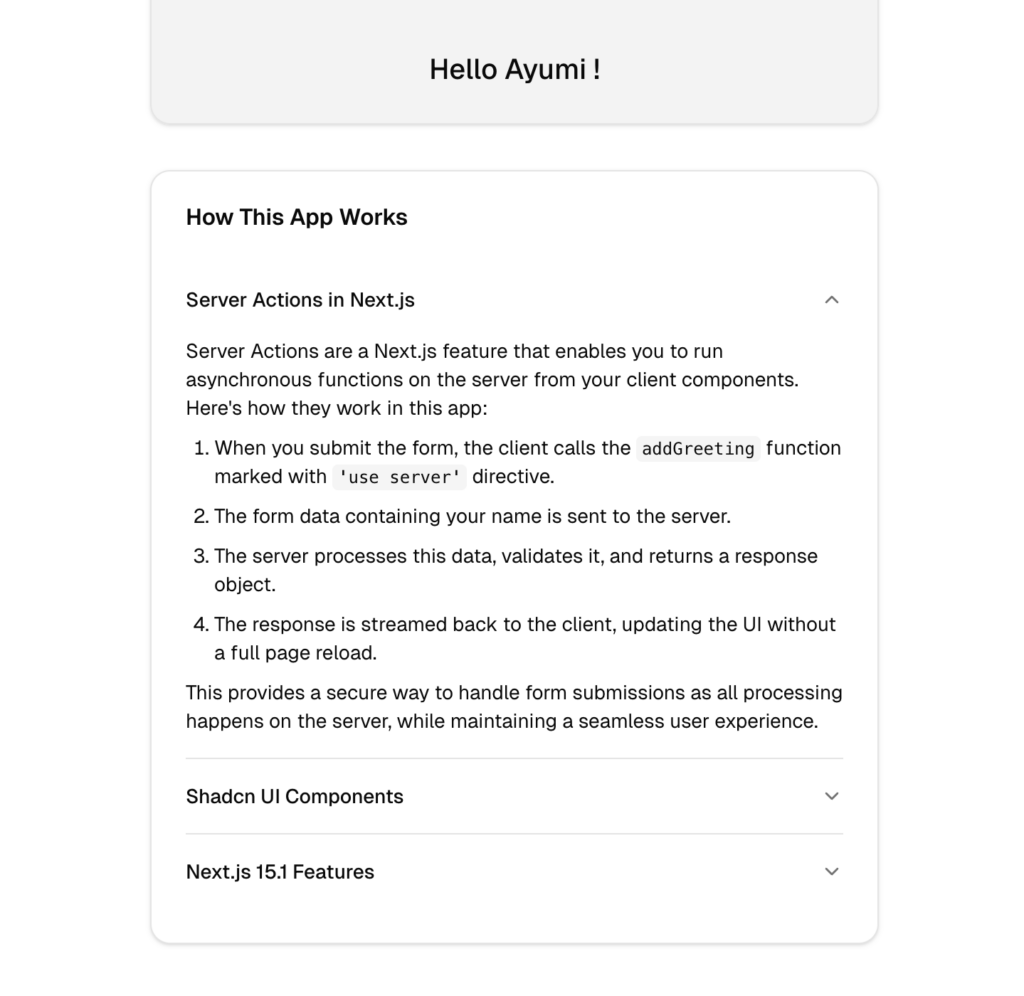
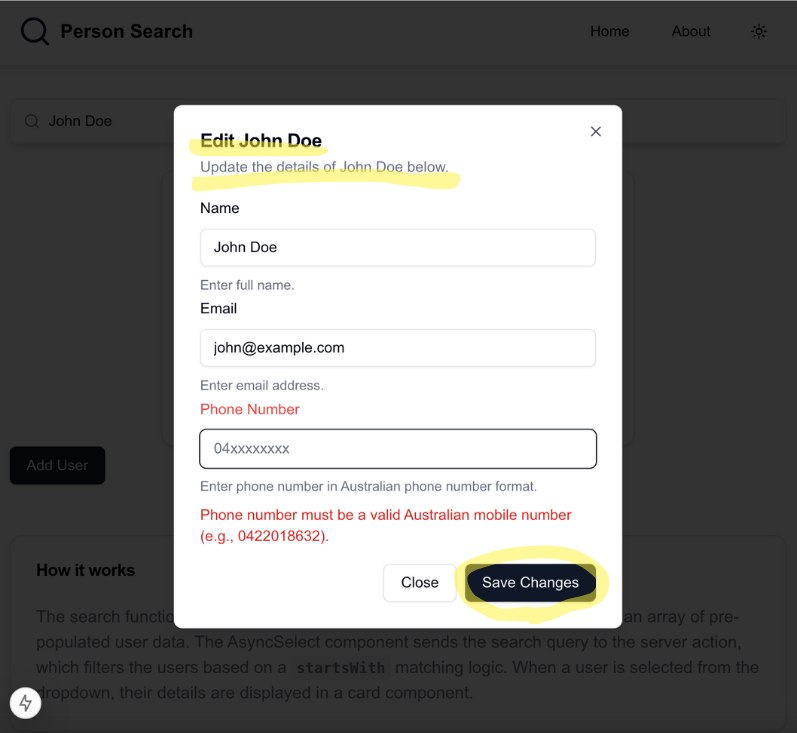
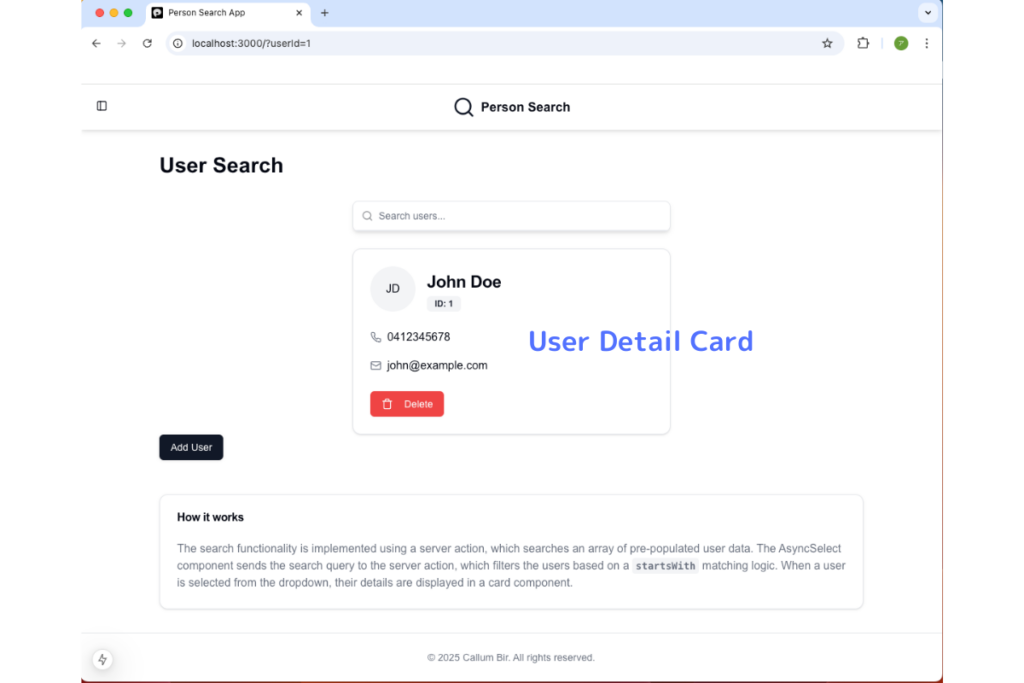
Take, for example, the simple greeting app featured in my course, Build Your First Gen UI App. What once required extensive manual coding—including setup, backend integration, frontend styling, and deployment—can now be rapidly built, previewed, and deployed directly from prompts. Even connecting to external APIs has become far quicker and simpler.
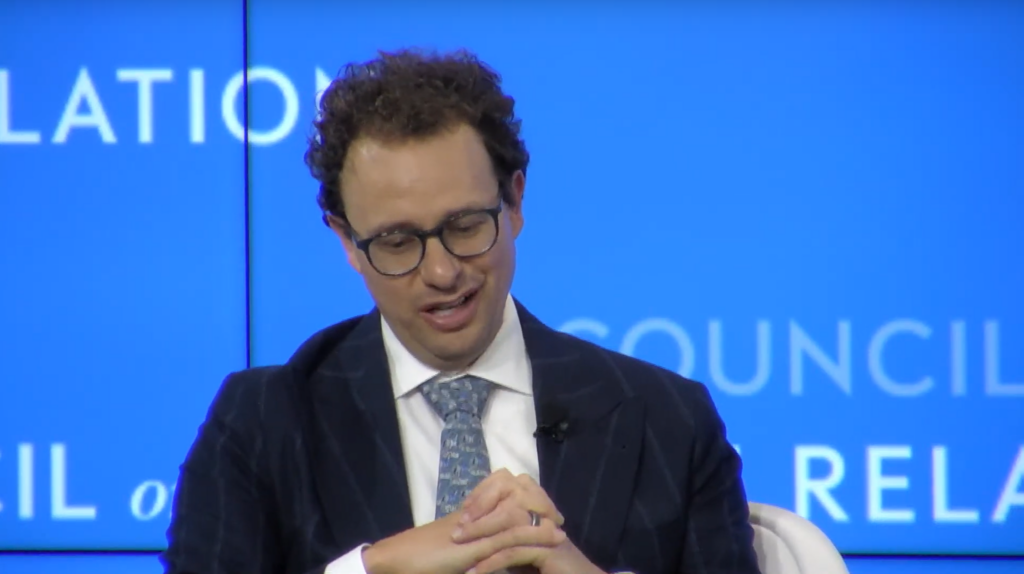
According to Dario Amodei, CEO of Anthropic:
“Within the next twelve months, we may see a world where AI is writing essentially all of the code.”
This prediction is not merely speculative; the transformation is already underway. Within the next few years, the majority of routine coding tasks will likely be handled entirely by AI.
Why This Matters for Graduates and Young Developers in Australia
Despite the promise, many students and graduates in Australia hesitate to pursue full stack development due to its perceived difficulty. Historically, the skill set required was intimidatingly broad, spanning multiple areas of expertise. Full stack developers needed to understand:
- Frontend development: React frameworks (such as Next.js), UI design (e.g., Shadcn, Tailwind CSS)
- Backend development: Server-side logic, APIs, databases
- Cloud and DevOps: AWS, Azure, automated deployment, CI/CD pipelines
- Cybersecurity: Secure coding practices, API security, user authentication, and authorization
- Architecture and systems thinking: Integration across multiple systems and repositories
These skills remain critical, but the assistance provided by generative AI is drastically changing how rapidly these competencies can be acquired and applied. As someone deeply involved in developing full stack training programs, I’ve seen firsthand how quickly students can now grasp previously complex concepts and start delivering practical results.
The Traditional Barrier and How AI Lowers It
Full stack development traditionally had an extremely high barrier to entry. Many IT graduates didn’t even attempt to pursue this pathway, intimidated by its complexity and perceived difficulty. Even those who began the journey often gave up, exhausted by the scope of the required knowledge and skills. But Gen AI is turning this narrative around.
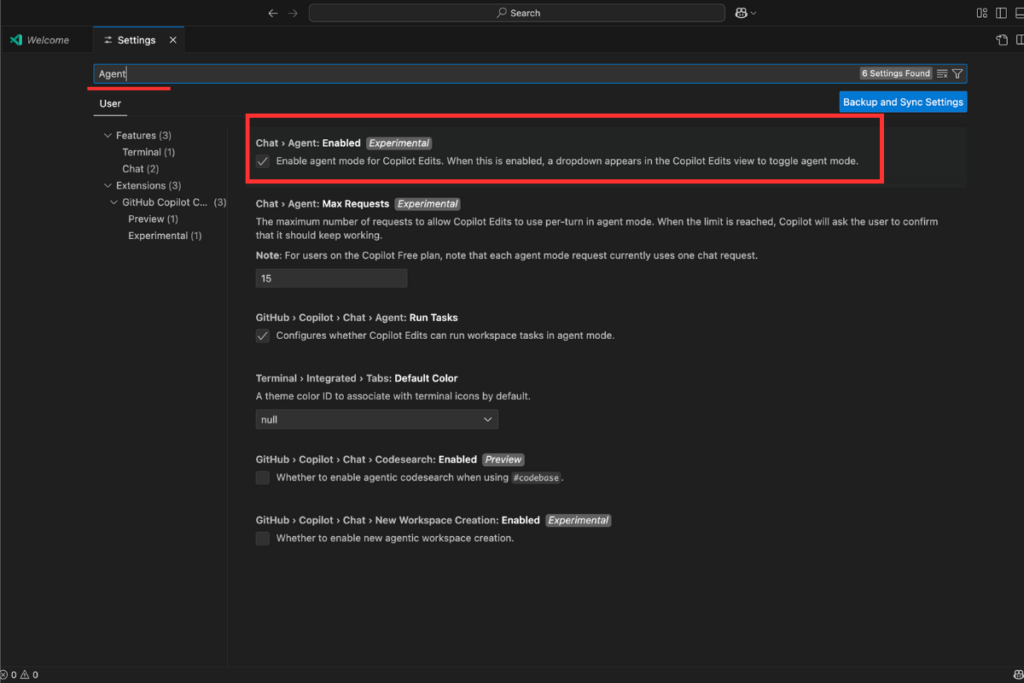
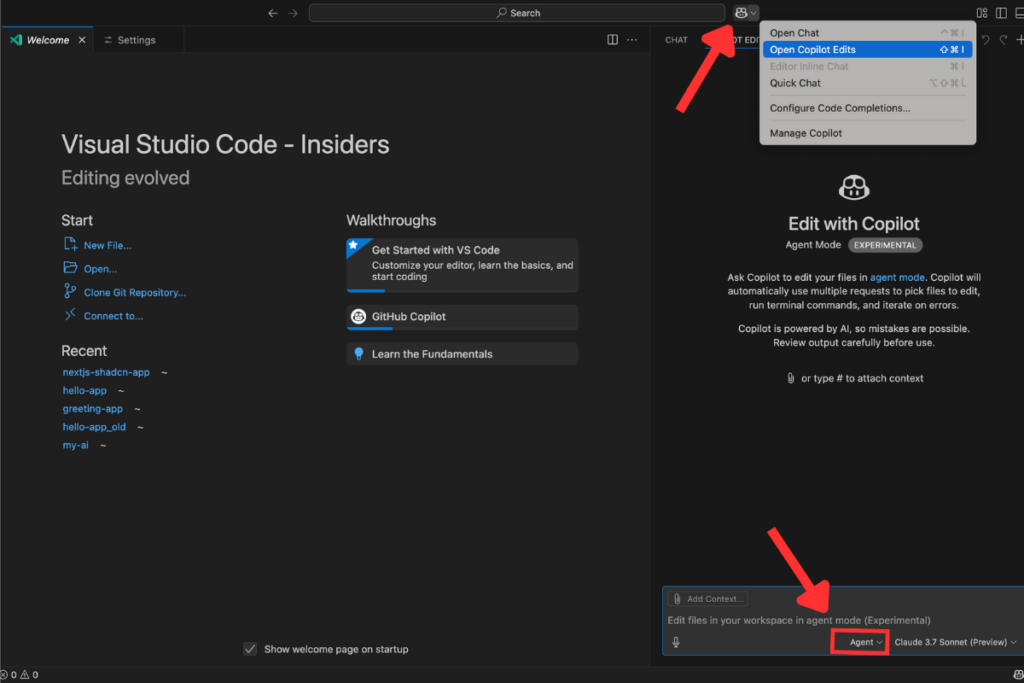
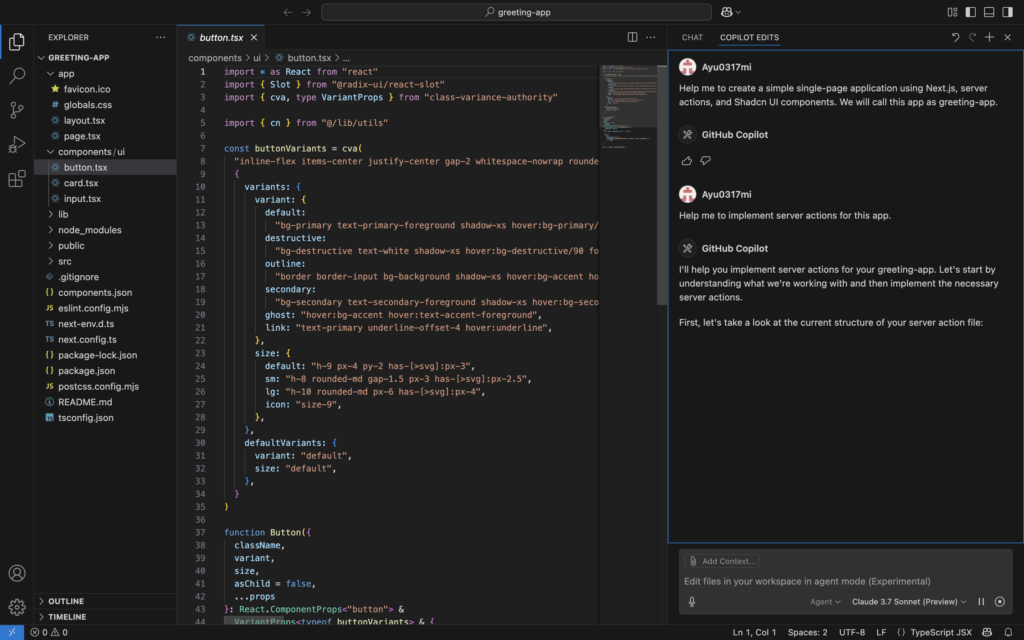
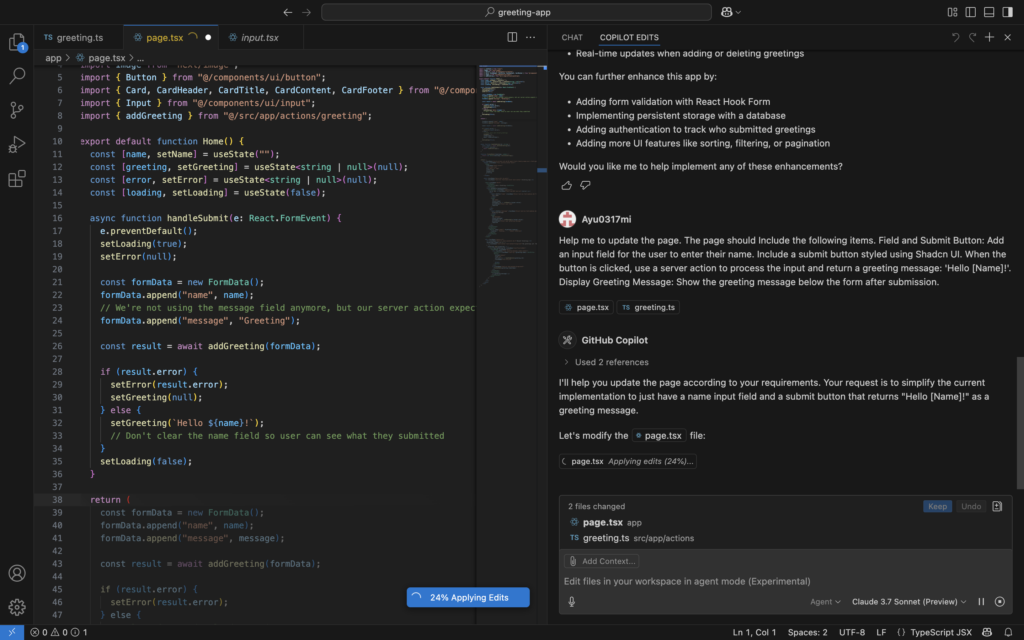
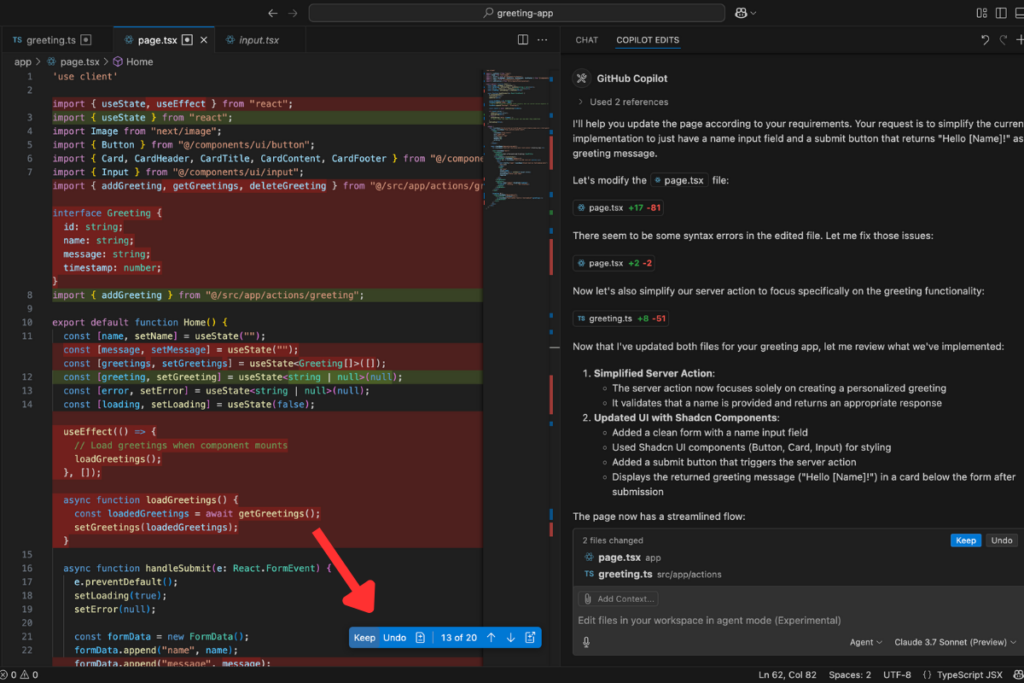
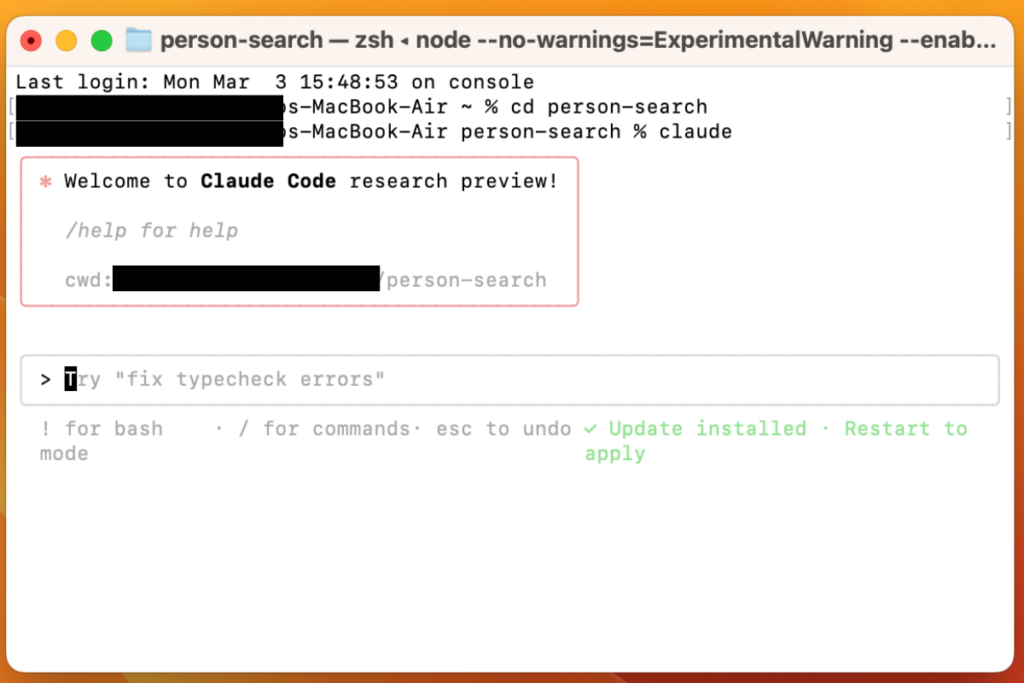
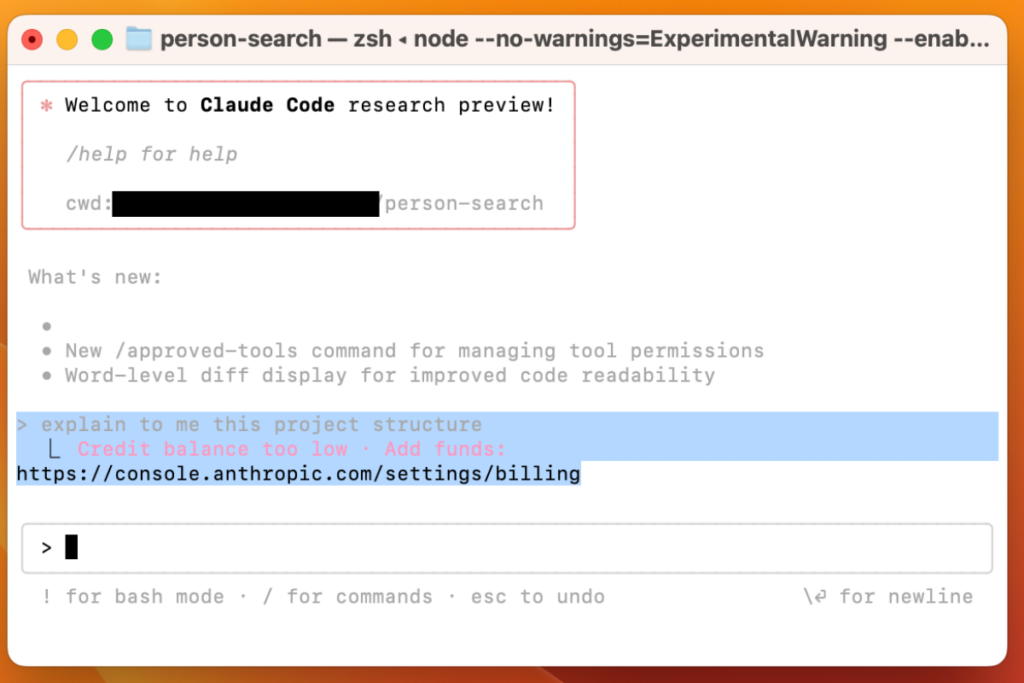
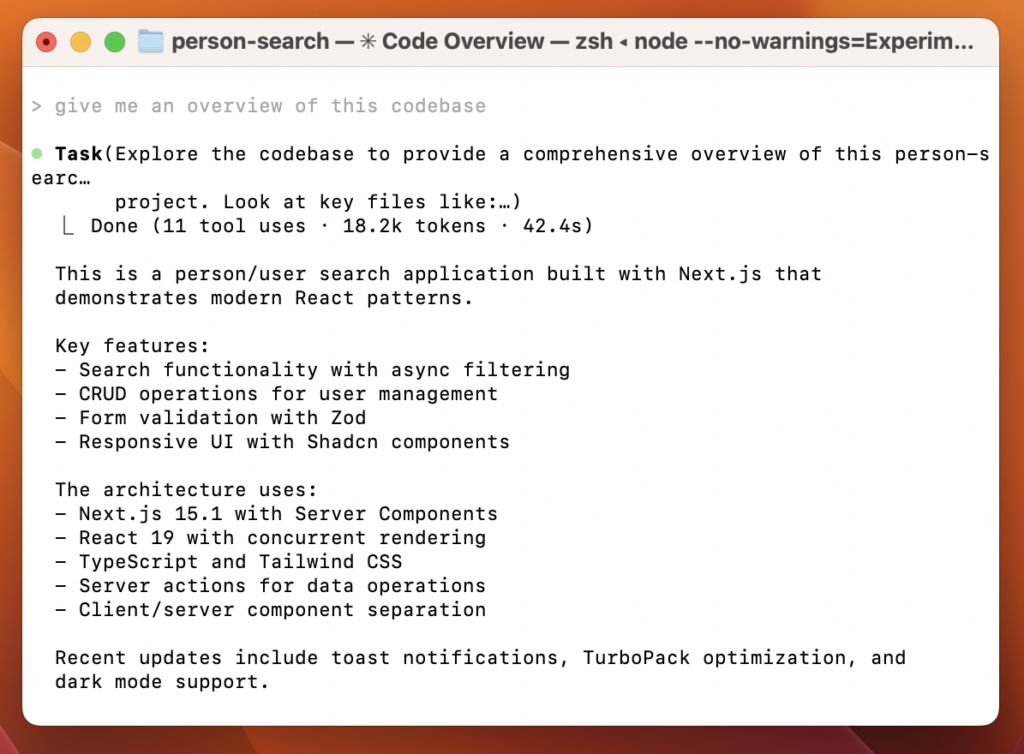
Now, AI-powered coding assistants are able to generate accurate, secure, and efficient code snippets based on well-defined prompts, significantly reducing the grunt work. Tools like GitHub Copilot and Claude Code allow developers to focus on higher-value tasks: architecture, strategic planning, system integration, and cybersecurity.

However, let me be clear—this doesn’t mean the fundamentals are any less critical. In fact, understanding the principles of software engineering remains essential. AI tools complement human expertise rather than replace it entirely.
The Modern Role of the Full Stack Developer
What does this modern role look like?
- Prompt Engineering: Developers must craft precise, effective prompts to generate the desired code. Clear communication and an understanding of requirements are critical.
- Integration and Coordination: AI-generated code must be integrated thoughtfully into larger, complex systems. Managing dependencies, orchestrating modules, and understanding interactions between components across multiple repositories remain distinctly human tasks.
- Collaboration and Agile Practices: Today’s developers must engage effectively with technical business analysts, product owners, QA testers, and project managers. Mastery of tools like Jira and participation in agile methodologies (sprint planning, stand-ups, retrospectives) is now mandatory.
The Opportunity Ahead
Why is this role uniquely valuable right now? Because full stack developers sit at the intersection of innovation and implementation. You’re the critical link transforming business requirements into functioning applications. The market needs developers who can leverage AI-generated code to deliver secure, efficient, and scalable software solutions rapidly.
Given the ongoing demand for high-quality digital transformation across enterprises in Australia, the US, and globally, mastering full stack development opens doors to countless opportunities. You’re not just writing code; you’re bringing ideas to life and enabling organizations to innovate faster and smarter.
Continuous Learning and Career Mobility
One of the greatest aspects of becoming a proficient full stack developer is the adaptability it fosters. The versatility of these skills allows professionals to pivot easily within the tech industry. Whether you eventually wish to transition into managerial roles or specialized areas such as solution architecture or cybersecurity, your grounding in full stack development will provide a significant advantage.
Moreover, skills gained through full stack development—structured problem-solving, critical thinking, systems architecture, cybersecurity awareness, and agile collaboration—are broadly applicable across many roles and industries.
Where to Start: Courses and Resources
Recognizing these evolving demands, I’ve designed several practical courses to support developers at various stages of their learning journey:
- Next.js 15 for Beginners: Build, Style, and Deploy Your First App with Shadcn UI and Vercel: Ideal for beginners looking to rapidly learn modern web development techniques.
- Secure Web Application with Auth JS – A Hands-On Guide for Beginners: Essential for mastering secure authentication practices.
- 🚀 Building a Real-World Gen AI App with Groq & Llama Models: Practical experience integrating generative AI into real-world projects.
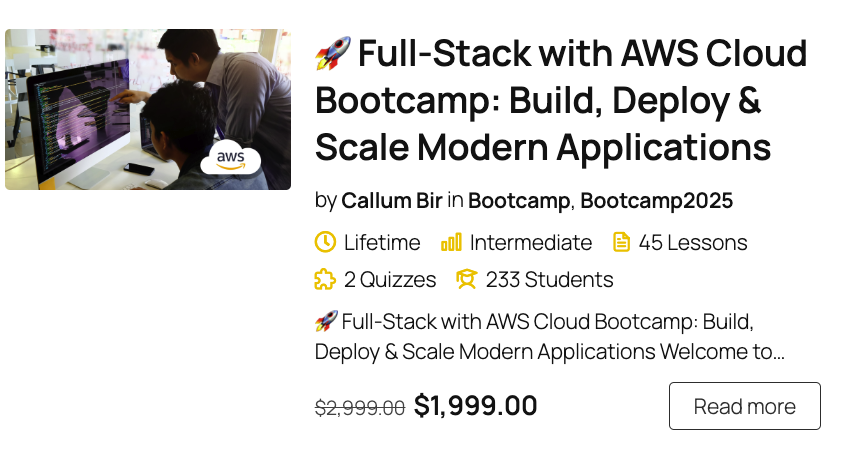
- Full Stack with AWS & DevOps II Bootcamp: Comprehensive training to build enterprise-grade, cloud-based applications.
Check out my latest posts for more insights into modern software development, AI integration, and agile best practices.
Conclusion: A New Era for Software Developers
Embarking on a career as a full stack developer today is more compelling—and accessible—than ever. The synergy between human creativity and AI-driven code generation offers unprecedented opportunities. If you’re a student or recent graduate in Australia wondering whether this path is worth the effort, let me assure you: The barrier to entry has never been lower, and the potential for growth has never been greater.
Embrace this hybrid future, leverage the powerful tools at your disposal, and step confidently into a career where you can genuinely shape the future of technology. The time is now—are you ready to lead the charge?